

It’s already that time of year when we can start to get ready for the upcoming honey extraction and ensure we are ready to go with all the equipment, tips and advice we need to ensure the harvest is fruitful. While we generally advise extracting your honey in summer, some parts of the country are already in the right conditions to begin harvesting (the early warm weather and mild conditions mean bees have been working steadily since winter). Take a look at some great tips from Nuplas to keep in mind whether this is your first harvest or you are a seasoned pro.

When To Extract
Our first tip for beekeepers is ‘be patient’, especially for first-time beekeepers. You will know it’s the right time to harvest once your bees have filled at least 80% of the cells with sealed, capped honey. A simple visual inspection will allow you to see if there are enough capped cells to make up the 80% benchmark. It’s essential that you do not try to extract before the honey is capped. Uncapped cells mean the honey will have a higher moisture content as the bees have yet to dehydrate the harvested nectar by fanning the honeycomb with their wings. This watery honey may ferment if removed. You must also ensure you leave enough honey for the bees to last them until the next nectar flow.

What You Will Need
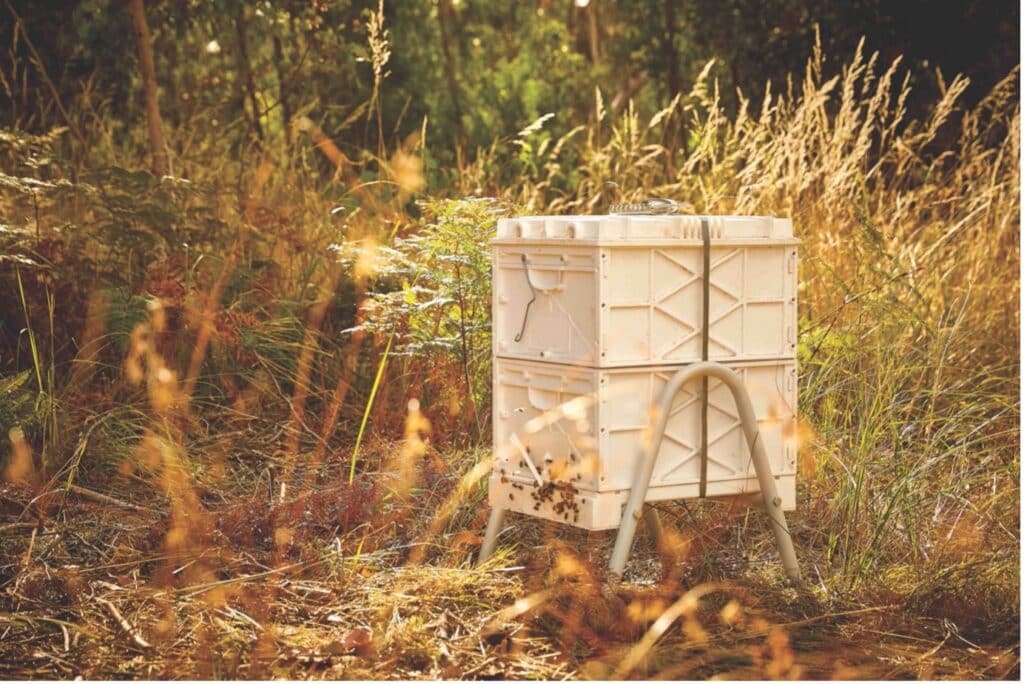
Having the right tools for the job will make extracting your honey a fun task instead of a laborious chore. Here is a list of what you will need to remove your honey and ensure it’s in good condition for consumption:
- Uncapping knife
- Uncapping plane or uncapping fork
- Strainer or honey filter bag
- Adequate honey storage (buckets and jars for final storage)
- Measuring jug with a spout to pour honey into jars
- If you can commit to an electric honey extractor, it will make the entire process easier.

How To Extract
Now comes one of the most enjoyable parts of being a beekeeper: the honey extraction. If you’ve inspected your hives and they contain 80% capped honey, then its time to extract and see how much honey your bees have been able to produce for the season.
Step-by-step instructions:
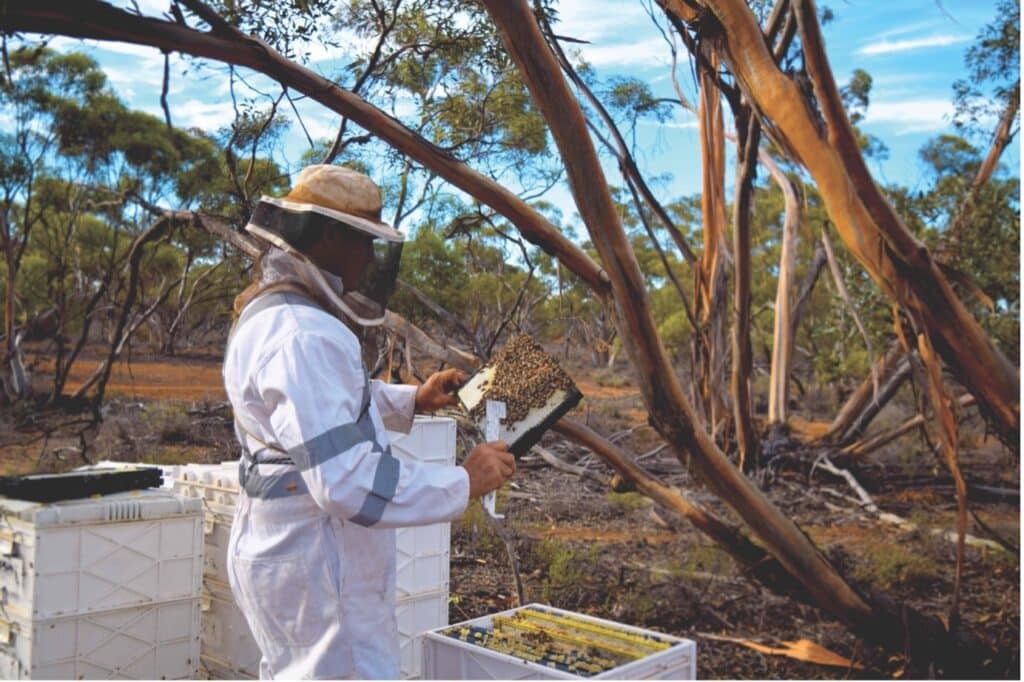
- Use a smoker to make your bees docile as you inspect the hives.
- Use a hive tool to pry loose the frames.
- Remove the frames from the hive – you may want to cover them with a shade cloth or similar until you take them to where you will be extracting.
- Use an uncapping knife or scrapers to remove the top layer of wax, sealing the honeycomb. (Using an uncapping bench bucket is ideal for this task.)
- Once you have unsealed the honey, place it in your extractor. An extractor uses centrifugal force to separate the honey from the honeycomb. Extractors are available in electric and hand-crank versions and allow separated honey to pool in their basins, which can be drained through a honey gate.
- Once separated, you’ll want to run your honey through a strainer or honey filter bag in order to filter out the last little bits of wax or any debris that can come from your hives.
- Use a wax melting pot to melt and separate your beeswax. Beeswax is a fantastic by-product used to make candles, lip balm, and many other products.
- Once you’ve filtered your honey, use your measuring jug to pour it into sterilised jars, label and enjoy!
What To Do With Your Honey
Now, your only problem will be what to do with all your fresh honey. If you are planning to sell the fruits of your labour, make sure you contact your state or local government about the legal requirements for honey, packaging products on your premises, labels for honey containers, record keeping and compliance with food safety laws. If you are planning on gifting your honey, then all you’ll need is enough jars and some soon to be delighted friends and family.
As always, if you have any questions about extracting honey or general bee information, you can contact the Nuplas team here. Make sure you are following us on Facebook and Instagram for our latest updates and apiary news. Happy Honey Season!